How to Design and Style an Outdoor Living Space

Spring is here and so many of us are just waiting by the door for the day when we can ditch our indoor living in favour of the outdoors. Maybe this is even the year you’ll finally get that deck you’ve always wanted (mine is just completed and I’ll be revealing that next month).
As a designer I notice that we tend to spend a lot more time, attention and money on the inside of our home. If you have the resources available why not spend some of that to upgrade the outside of your home with the same meticulous attention. Afterall, the intention is to spend as much time as possible out on our deck so let’s make it as beautiful as our interior.
If you’re ready to design and decorate a deck for your home these are the tips I’m sharing as both a designer and as a homeowner with a brand new deck of my own.
Planning for Your New Deck
This is a home renovation project and should be regarded with the same thoughtfulness and strategic planning as any interior design project in your home. Here’s how you should tackle the project to ensure you get the most of your summer oasis.
Before anything else you’ll want to consider what you want to do on your deck. What is the required shape and size that would ultimately suit your needs? Ask yourself these questions:
What will the primary use of the deck be?
What will the secondary uses be?
How often will the deck be used for entertaining and how much space will be required?
Are there mobility or accessibility issues that need to be addressed in the design?
These are the most important questions for you to determine the best shape and size for your particular needs. Most of us immediately think of eating and dining when we imagine our time outside. Those may be your primary needs but what else do you like to do?
An avid reader may like a comfortable lounge chair and footstool. A self-proclaimed bartender might like an outdoor console table set up with the accoutrements required for mixing drinks. And those with little kids might want to include a miniature picnic table or even an area for quiet activities.
Step 2 - Establish a Budget
Just like any interior project, it’s important to establish a budget before you begin. There are a few factors that you need to consider and that will ultimately determine what your project will cost:
Labour Cost - this will be one of the biggest cost factors in your project. If you are helping or you are tackling the labour on your own then you’ll be able save a significant amount of money.
The Design - this can add or decrease the amount of time and labour so consider that when planning. For instance, an intricate or more complex flooring design that requires a lot of labour will add a significant amount of time and money to the budget.
The Substructure - This will have to be considered when creating a budget. If your current substructure is in good shape you may just be able to replace some boards on top and get started. If this is a brand new deck or if the substructure is unusable you’ll have to include this in your budget.
Materials - When renovating any part of your home the materials can range from high to low. It's important to educate yourself on what your preferences are and what are the costs associated with those materials. You may need to modify it once you review all the numbers.
Step 3 - Plan the Design
If you’re hiring a designer you will be provided with all the designs and construction documentation that your contractor requires. I’ll dive into more detail about my own deck design plans next month. If you’re working with a contractor they will work with you to determine your needs and build a construction plan from there.
If you are tackling this project on your own there are books and online resources that can provide you with standard plans to get you started. Read this post to learn more about the 5 things first-time renovators don’t expect.
Step 4 - Select the Materials
Wood, composite and PVC are the primary materials used for deck construction but there is a wide range of pricing associated with each of these so do your research thoroughly before you begin. Here is an overview of the materials and what you should consider:
Pressure Treated Wood - this is typically pine that has been chemically treated. The wood is subjected to a treatment process that uses high pressure to force chemical preservatives into the fibres of the wood.
This is a cost effective material which is why we often see them on builder homes. This material is resistant to insects and rot. It is not waterproof so consider that factor if you live in a rainy climate. It’s also the least durable option and is the most susceptible to warping and cracking.
Traditional Wood Decking - this includes both soft and hard wood varieties but this wood is untreated. This is a popular decking choice because of the natural beauty of wood that so many of us love.
This tends to be a high maintenance option and will require maintenance every few years. The wood is also prone to natural cracking and splitting and bare feet may be subjected to splinters. If you love the look of wood, this can be a great option for you.
Composite - this is made from recycled plastic and wood fibres. It’s made to be very low maintenance although it does tend to cost more than the wood alternatives. Just keep in mind that you won’t be replacing this material nearly as often as the wood options.
Composite is resistant to rotting and insect damage. It’s also a great option for anyone who prefers sustainable and eco-friendly materials. And lastly, many of the manufacturers offer warranties against sun damage, fading and staining.
PVC - this product contains no wood materials and is completely synthetic. That means it will offer the best protection against moisture. For those who don’t want to invest time in upkeep, PVC is the lowest maintenance product of all the options available to you.
PVC products typically offer warranties against staining and fading. The price is similar to the cost of composite materials but will be higher than pressure treated or traditional wood products.
Vinyl - if your decking requires a waterproof material because of a structure that lies beneath the deck, this is the product I would recommend. For example, a deck built above a carport or garage will require additional care in protecting rain and snow from soaking through the deck to the structure below.
Step 5 - Secure the Necessary Permits

Yes, even your deck requires a municipal permit. If you’re hiring a contractor they will take care of this for you but if you’re building it yourself do not overlook this step. In Cranbrook permits are typically issued within 4-6 weeks.
Use this time while you’re waiting to plan the project, create your budget and source your materials.
Step 6 - Construction Phase

The length of time your project will take to complete depends entirely on the size of your project, the availability of the materials and the availability of your construction team.
I always recommend interviewing and securing your contractor as soon as possible. This will allow you the necessary time for their team to get you in the queue while they complete their current projects.
Step 7 - Lighting
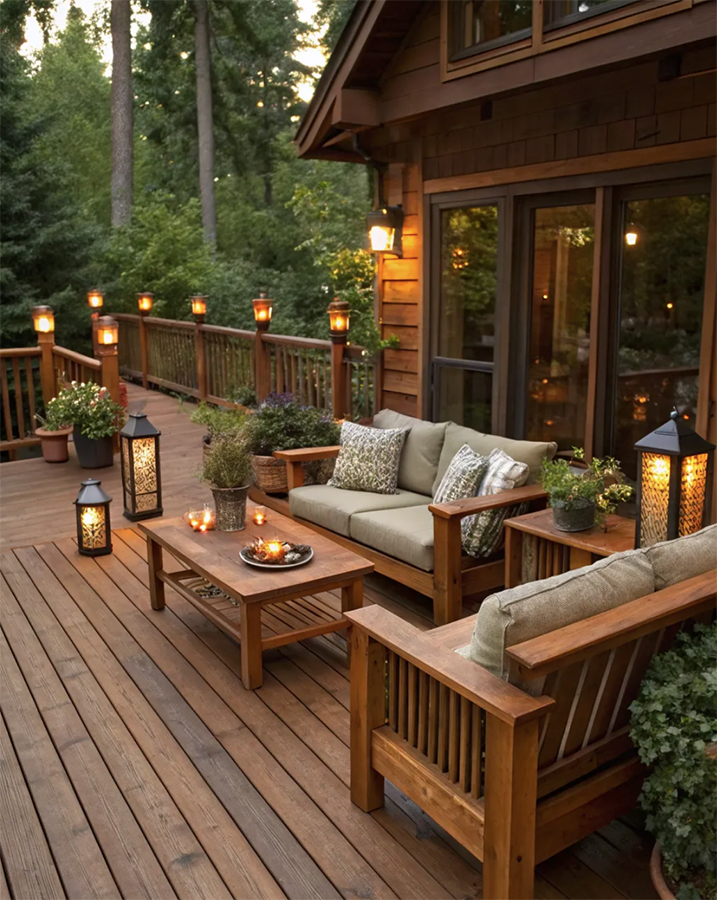
If you want to ensure you maximimze the time you spend outdoors be sure to incorporate plenty of lighting. Consider adding deck lighting to your project plans. Here are some clever ways to add more lighting into your deck:
Stair Lights - This can be incorporated into the stairs of your deck which will allow you to move freely up and down even when it’s dark outside. Typically these will be incorporated into the riser of the stair but can also be added at the sides of each tread.
Post Cap or Under Rail - Lighting is incorporated into the post cap or under the rails so your contractor will need to know you want this early on in the project. It’s possible to add post caps later using solar polar caps but either way, they’ll add lots of additional lighting and create a beautiful ambience in the evening.
Recessed Lighting - If your deck plan includes a roof you’ll want to include some recessed lighting that will give the ultimate in illumination. And add a dimmer to allow you to control the light level for both day and night.
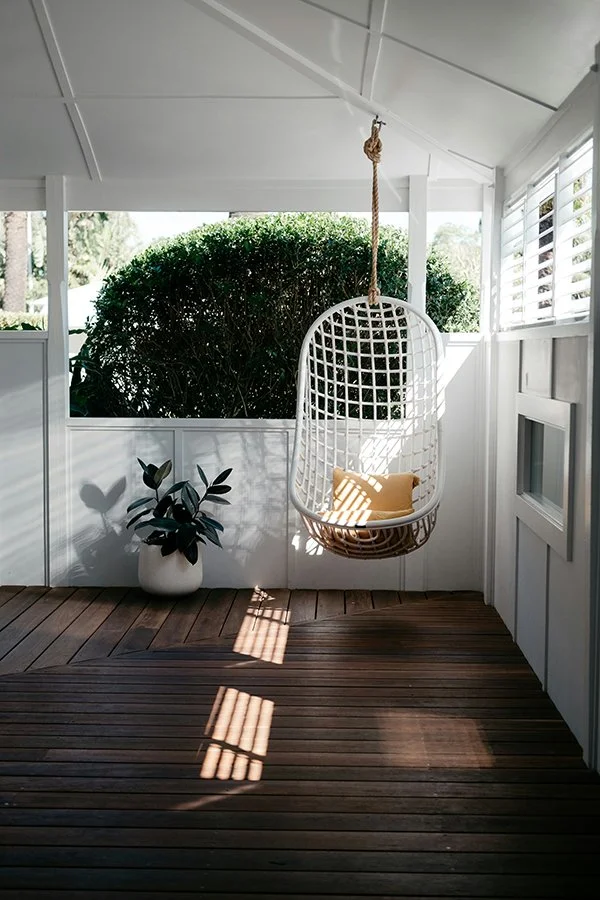
Decorative Lighting - If you aren’t going to add lighting into your deck there are lots of options for you to choose from. Consider string lights, hurricane lamps, torch lights or even table and floor lamps.
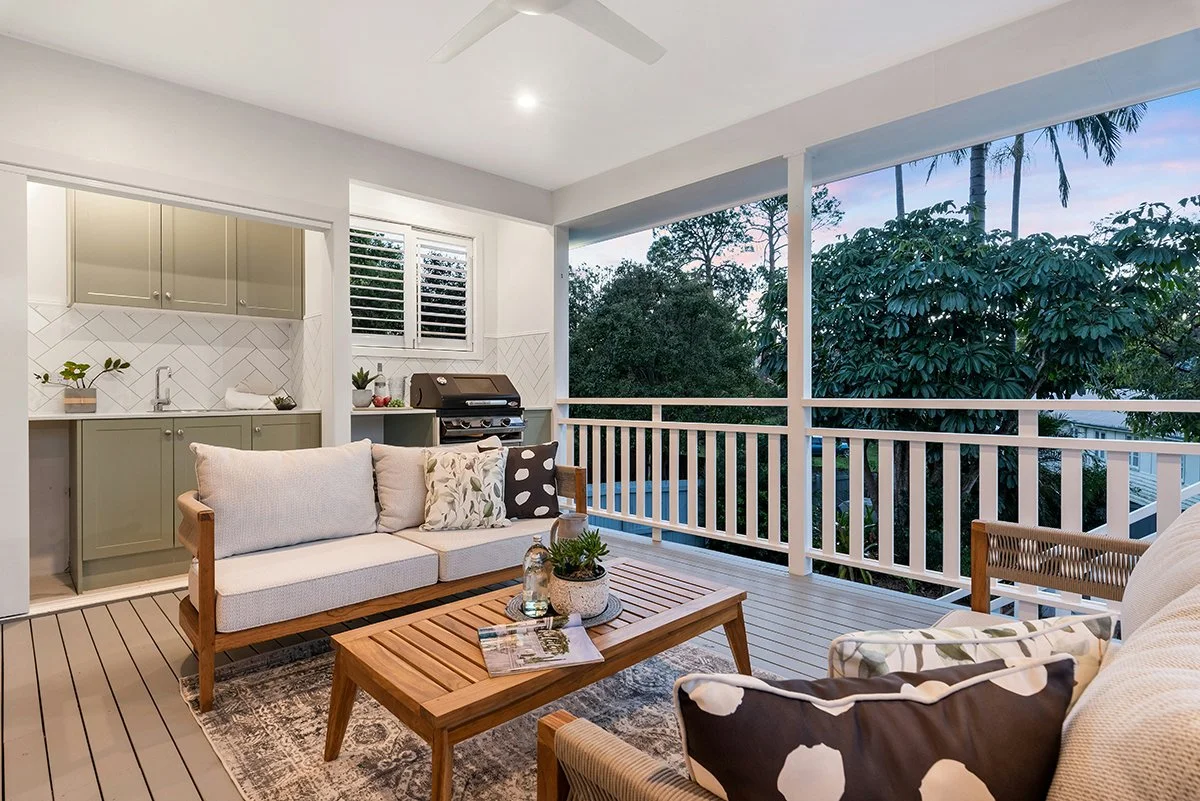
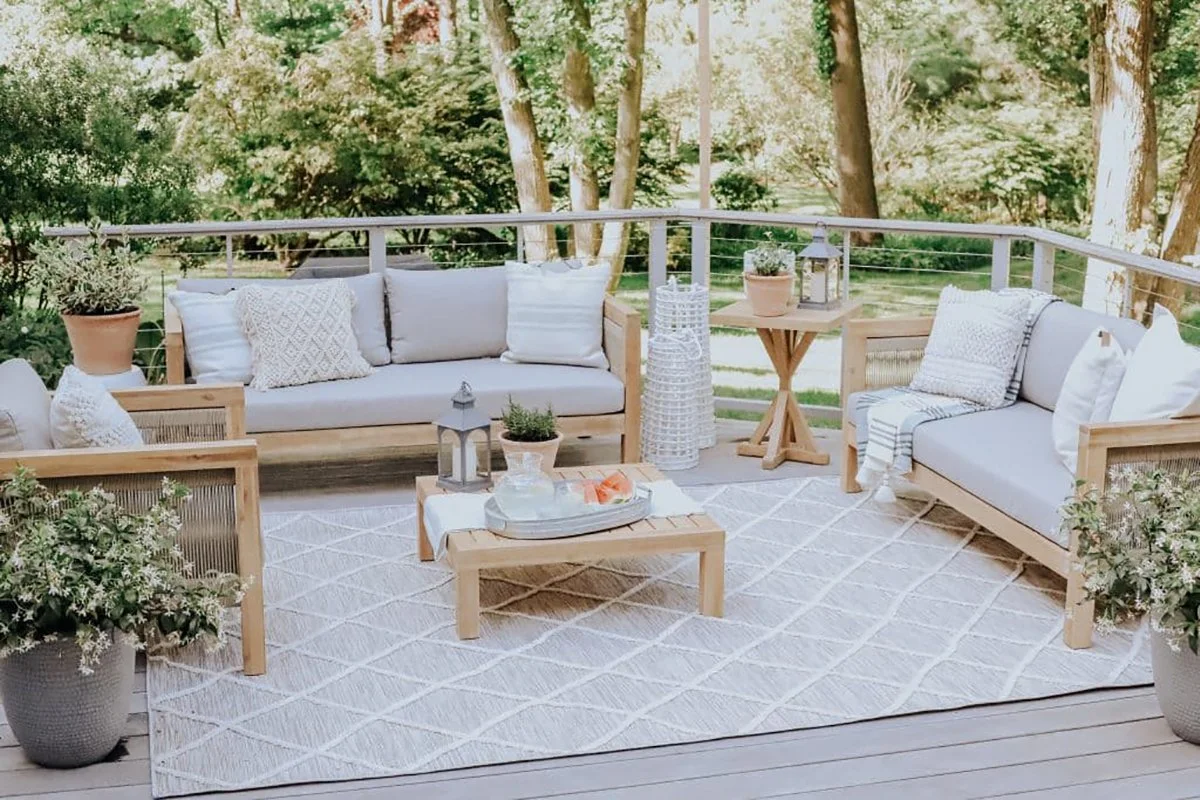
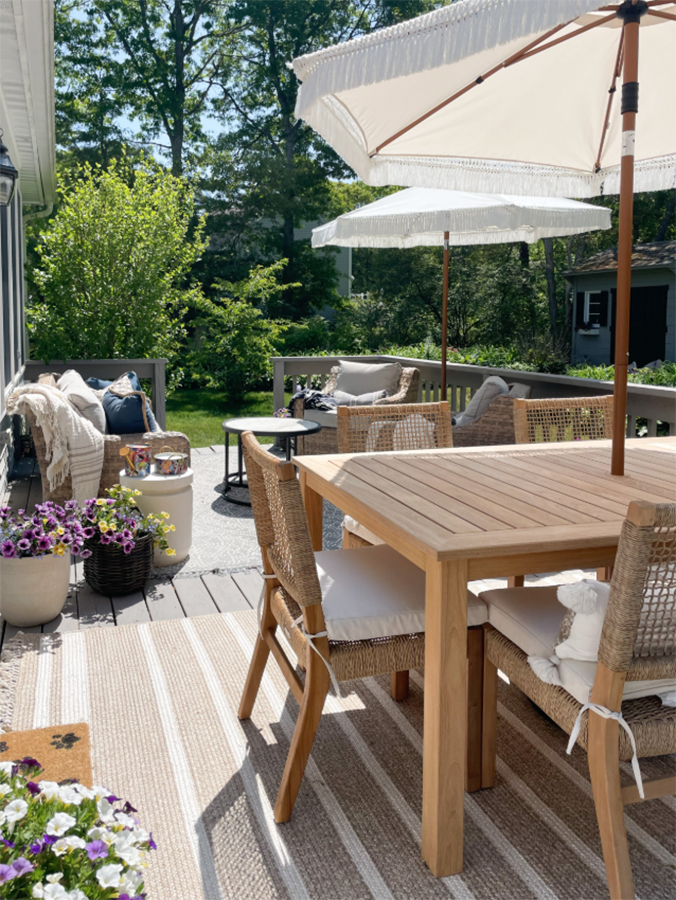
Step 8 - Decorate

Be sure to purchase your outdoor furniture early in the season. As soon as the inventory hits the floor, be prepared to shop. Unlike interior furniture, retailers only order limited quantities and often don’t restock once their initial inventory sells. Retailers don’t want to be stuck with a warehouse full of outdoor furniture so be prepared.
Once you have your furniture selected it’s time to focus on the decor and accessories that bring life to your outdoor space. Here’s what you should consider:
Outdoor Rug - This is an aesthetic rather than functional selection but if you have both an eating and lounging area on your deck it will help to define the separate areas. Since there are no walls (or limited exterior walls from your home) we can’t bring colour through artwork so a rug will add that pop of colour you need to mute all of the wood.
Cushions - Treat your outdoor space just as you do with your indoor spaces. Consider a colour palette of just 3 or 4 colours and be consistent. Starting with the largest pieces like the upholstered furniture and the rug, draw colours from those and incorporate those colours into the cushions. This will create consistency and your space will feel well designed.
Decor - Small items like candles, plants in pots, trays and baskets for blankets are the final touches for your outdoor space. These are the pieces that make your deck feel like part of the home and not an afterthought. These pieces bring life to your outdoor space so don’t neglect that part of the project planning.
I hope you feel confident to tackle your outdoor deck project this year. As I mentioned, I’ll be revealing my own new deck next month in the August blog post so stay tuned for that.
If you have an upcoming design project that you would like to discuss, reach out to me. I’d love to hear about what you’re planning.
Warm regards,
Adrienne