Incorporating Today's Look Into Yesterday's Space

How do you partially update your 1990's home and not end up with a space that looks like yesterday and today? Read on, as I create a design for my clients and walk you through our journey, that achieves exactly that!
The term "Open Concept" when referring to residential floor plans began around 1990. This concept generally takes 2 traditional spaces and combines them by removing the walls to create one open space. Since this trend began nearly 30 years ago, it makes sense that we are now renovating these spaces to become more current.
This brings me to my latest renovation project. My clients contacted me in hopes of refreshing the main floor of their home. They had moved in about six years prior and had renovated the upper level, including the master suite, office and main bathroom. Now it was time to tackle the main floor which included an open concept kitchen/family room a separate formal living room, main floor bathroom and mudroom. They didn't want to totally "gut" the spaces, but rather, do more of a refresh. Kitchen renovations can be costly and more often than not, one decision can lead to what I refer to as the "snowball effect".
This is the beginning of our renovation journey together; and when I say together, I mean, the collaborative process in which I work with my clients.

I'll be sharing with you, how my team and I were able to take a home that was built over 20 years ago and strategically bring it into today's style WITHOUT gutting the entire space.
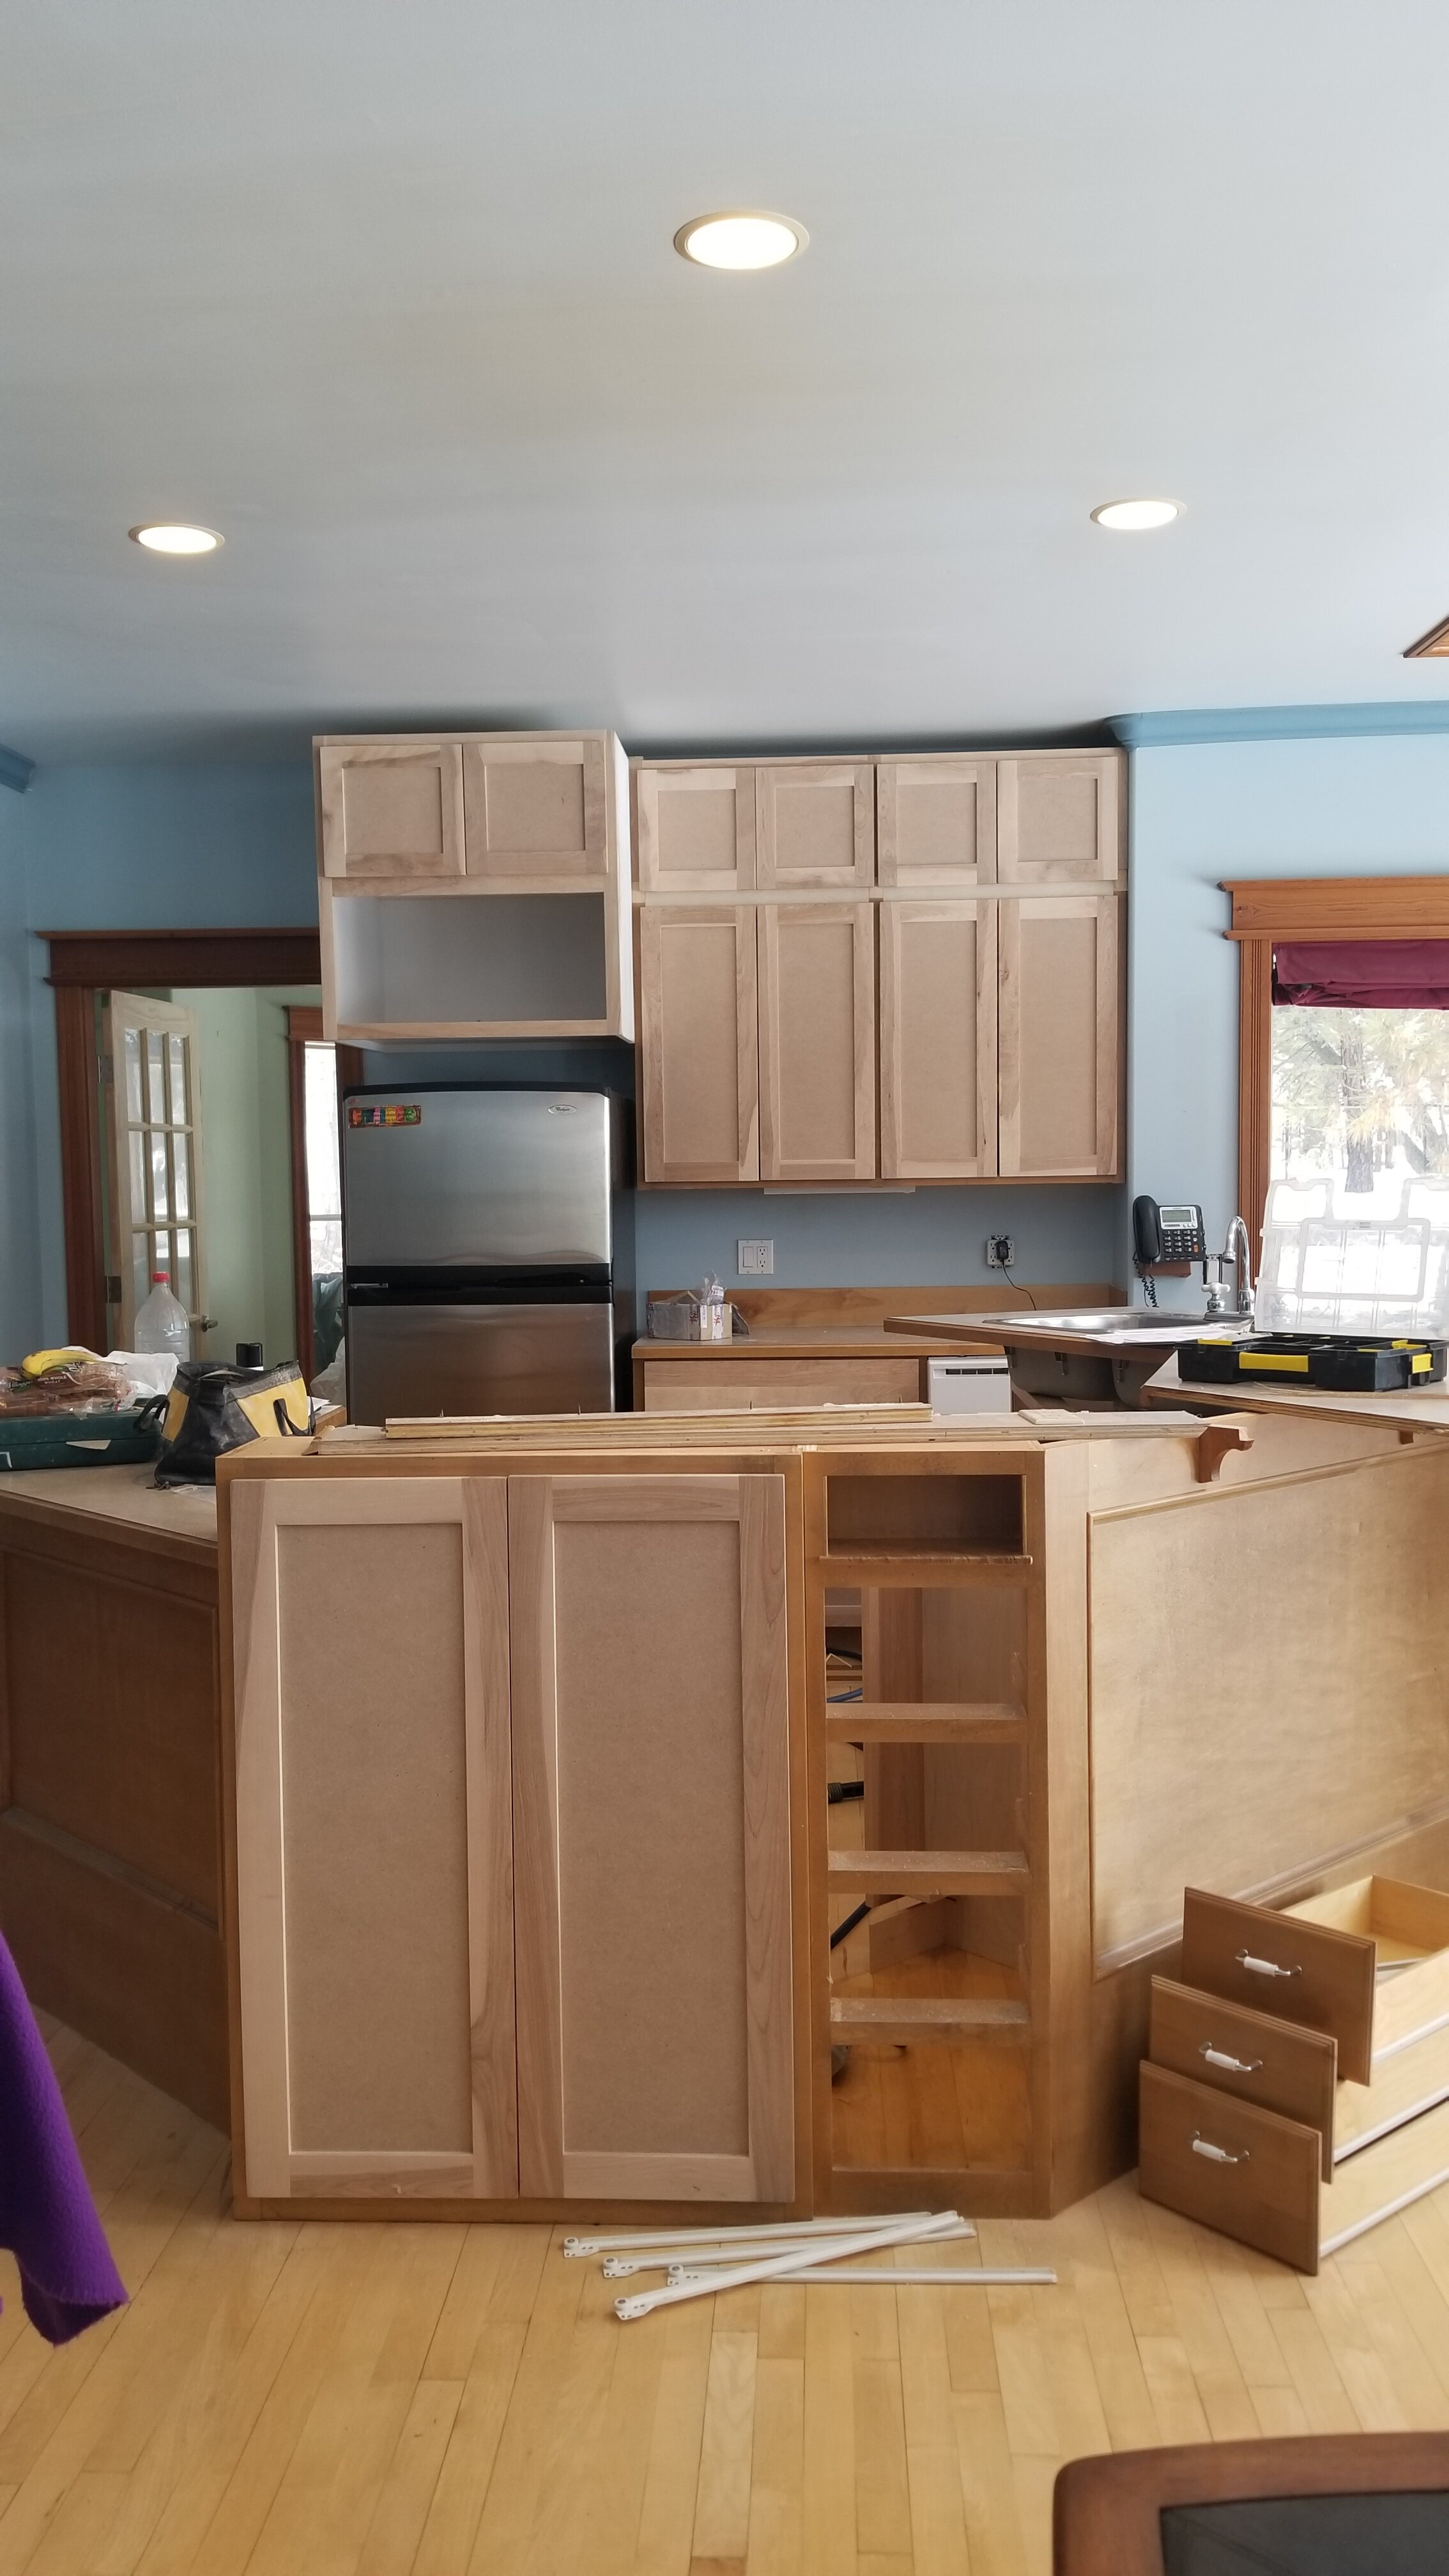
The Before Story
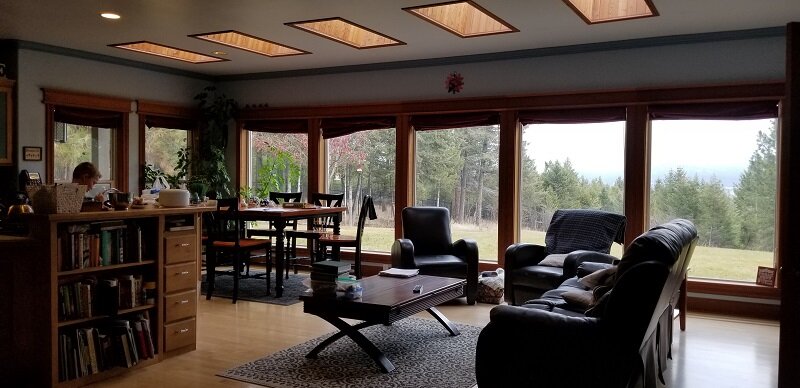
When I arrived at my client’s home, I couldn't help but be impressed with the panoramic views of the Rocky Mountains. After getting to know my clients and their two children, it quickly became obvious why they had chosen this home to raise their children. Simply put, they love the outdoor activities our area has to offer and this homes location was prime to experience it all.

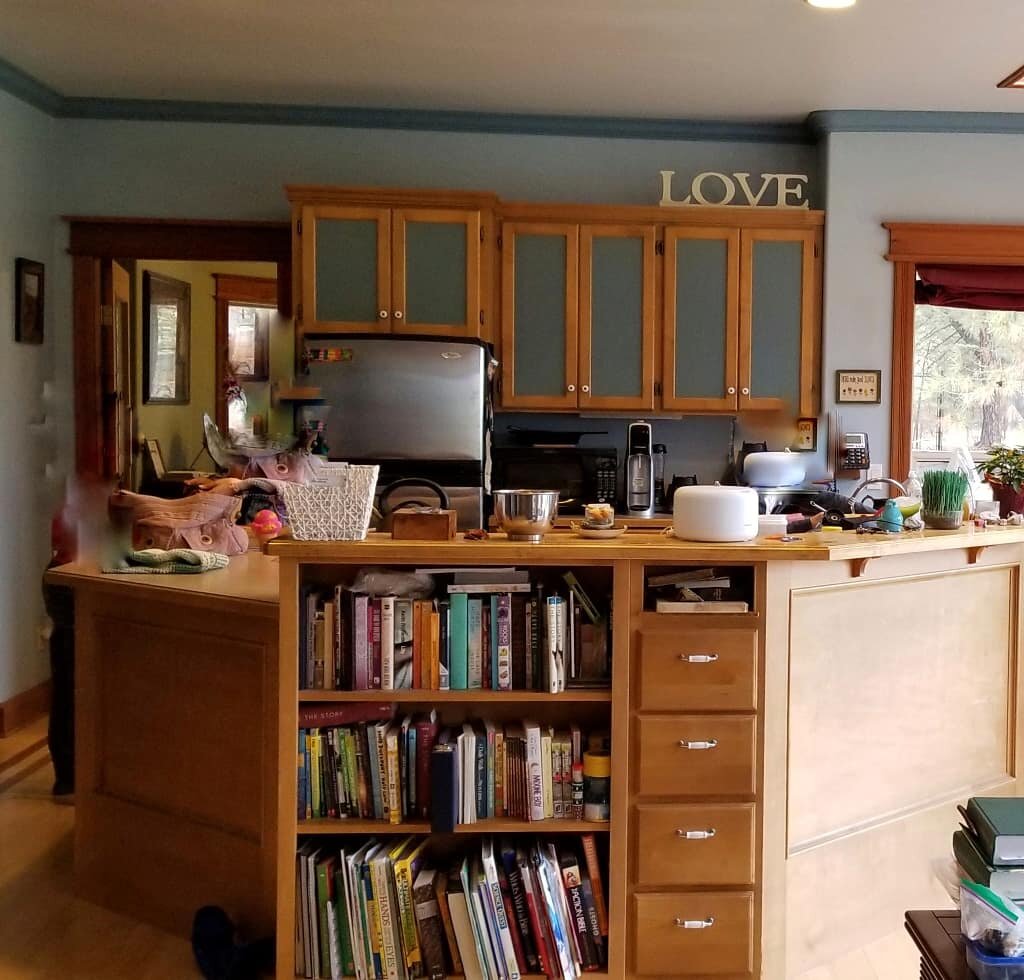
Their home had an open concept kitchen/ family room that functioned fine but was dated. The kitchen was very well constructed with a combination of wood and painted cabinetry; however, the family was not in love with the door style or the color of the two toned painted and wood finish.
The existing roman shade window coverings functioned well to keep out the hot morning sun, but left the space feeling dark and closed off from their beautiful mountain view.
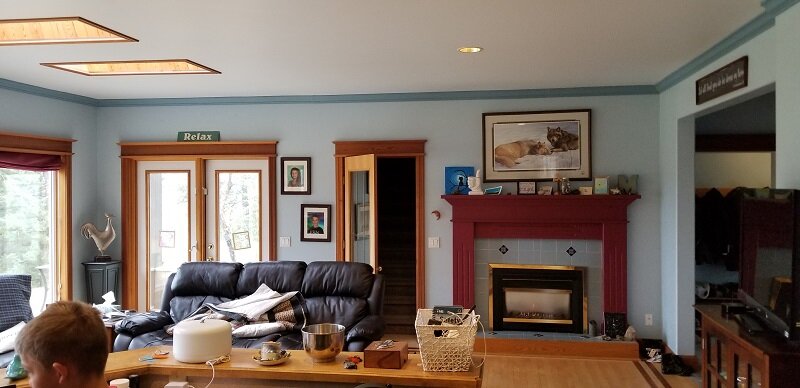
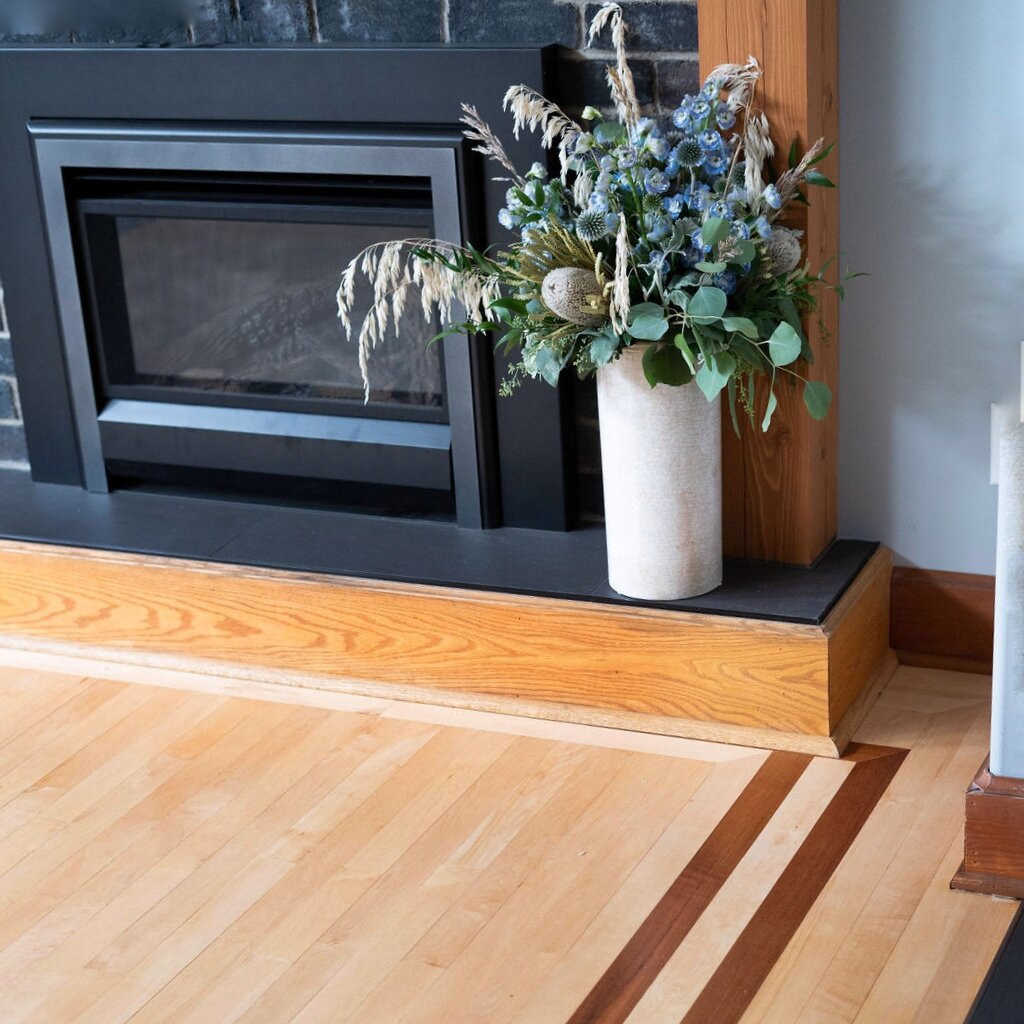
Their existing hardwood floors were beautiful and in great shape but had an inlay that felt dated and the gas fireplace with tile surround seemed to be having a bit of an identity crisis. It felt traditional because of the mantle style; yet the tile gave it a bit of an eclectic vibe.
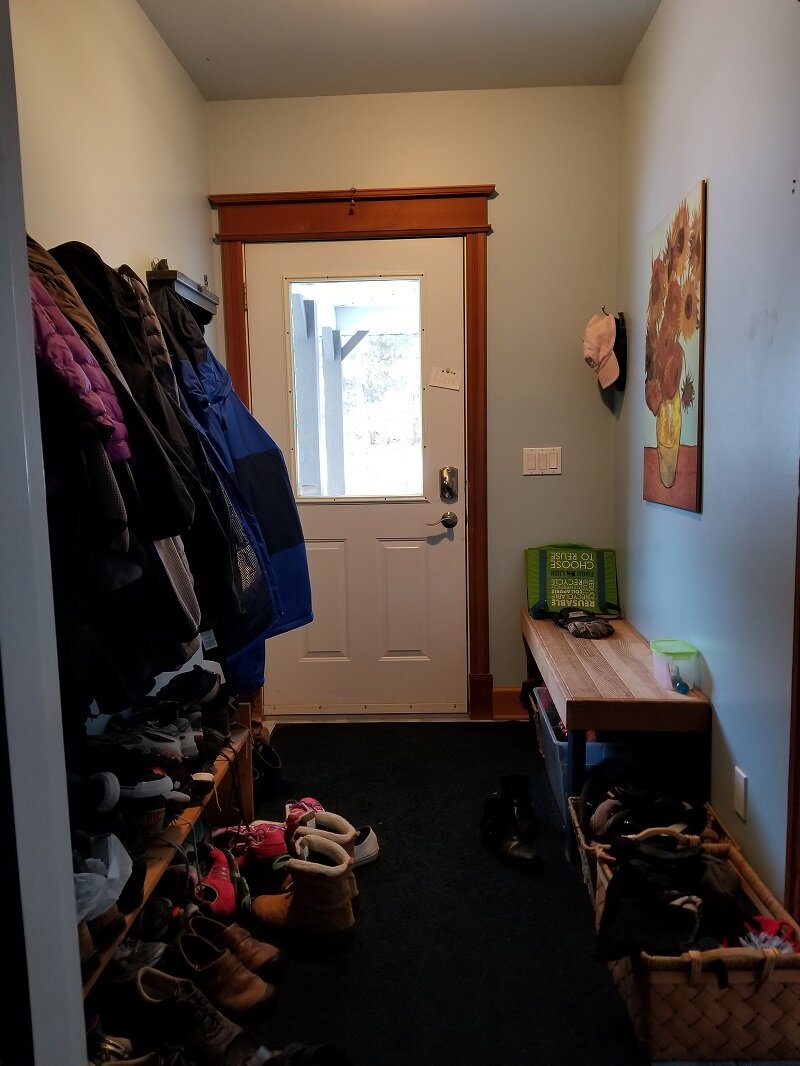
The adjoining mudroom felt dark, had dated tile and lacked storage causing it to be overrun by footwear and coats.
Goals
*Create a new “Modern Mountain” design aesthetic by:
*Adding more storage to the kitchen and updating the finishes to a style and palette that is more moody and natural to incorporate their favorite colors of deep blues and grays.
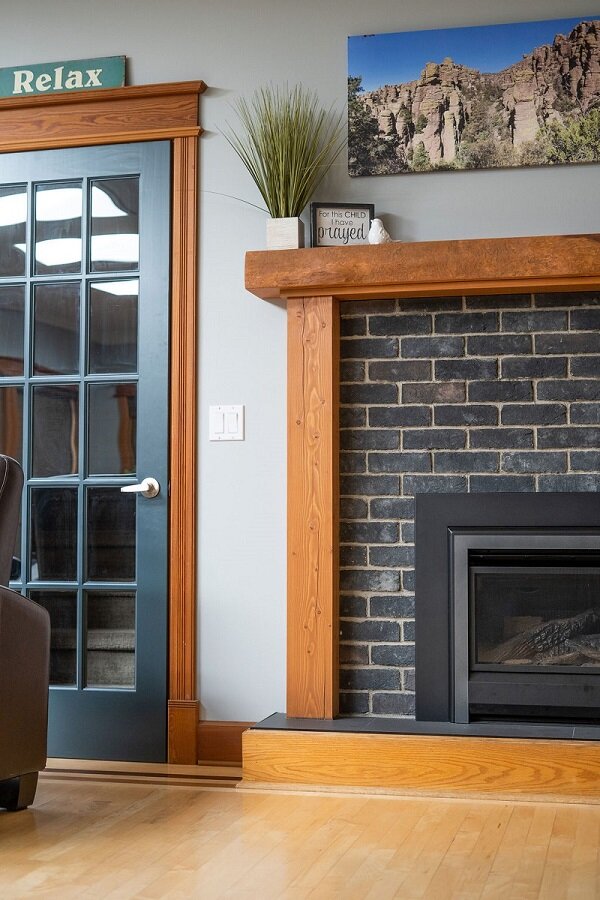
*Transforming the fireplace, hearth and mantle from "Traditional Eclectic" to "Modern Mountain"
*Redesigning the mudroom; adding storage to corral the footwear and coats.
*Replacing the window coverings with something that would reduce the summer heat and winter chills yet be light filtering so the beautiful view was still visible.
*Repaint the whole space and decide what to do with the skylights.
*Accomplish the above tasks without tearing everything out and starting from scratch - And, no White!
Bringing the Project Together
As part of my design process, I start with a 2hr Design Work Session. The goal of this session is to provide professional advice & tips on anything from paint colours to fixed finish options as well as ideas for space planning, lighting and window coverings. My clients can then choose to implement these ideas themselves or hire me to do it for them.
In this case, my clients chose to hire me. I came up with two different designs and a budget for each, as well as recommendations for trades people and businesses that would perform the work needed. When you are about to take on a renovation you have to decide from the start just how far you want to take it. One decision will lead to another and before you know it your renovation is out of control. Having a design plan and budget in place, before you start, usually ensures a successful project with minimal surprises and avoids the dreaded “snowball effect” . You can read more about the benefits of hiring a design professional here.
The After Reveal
HOW DO YOU MARRY OLD AND NEW?
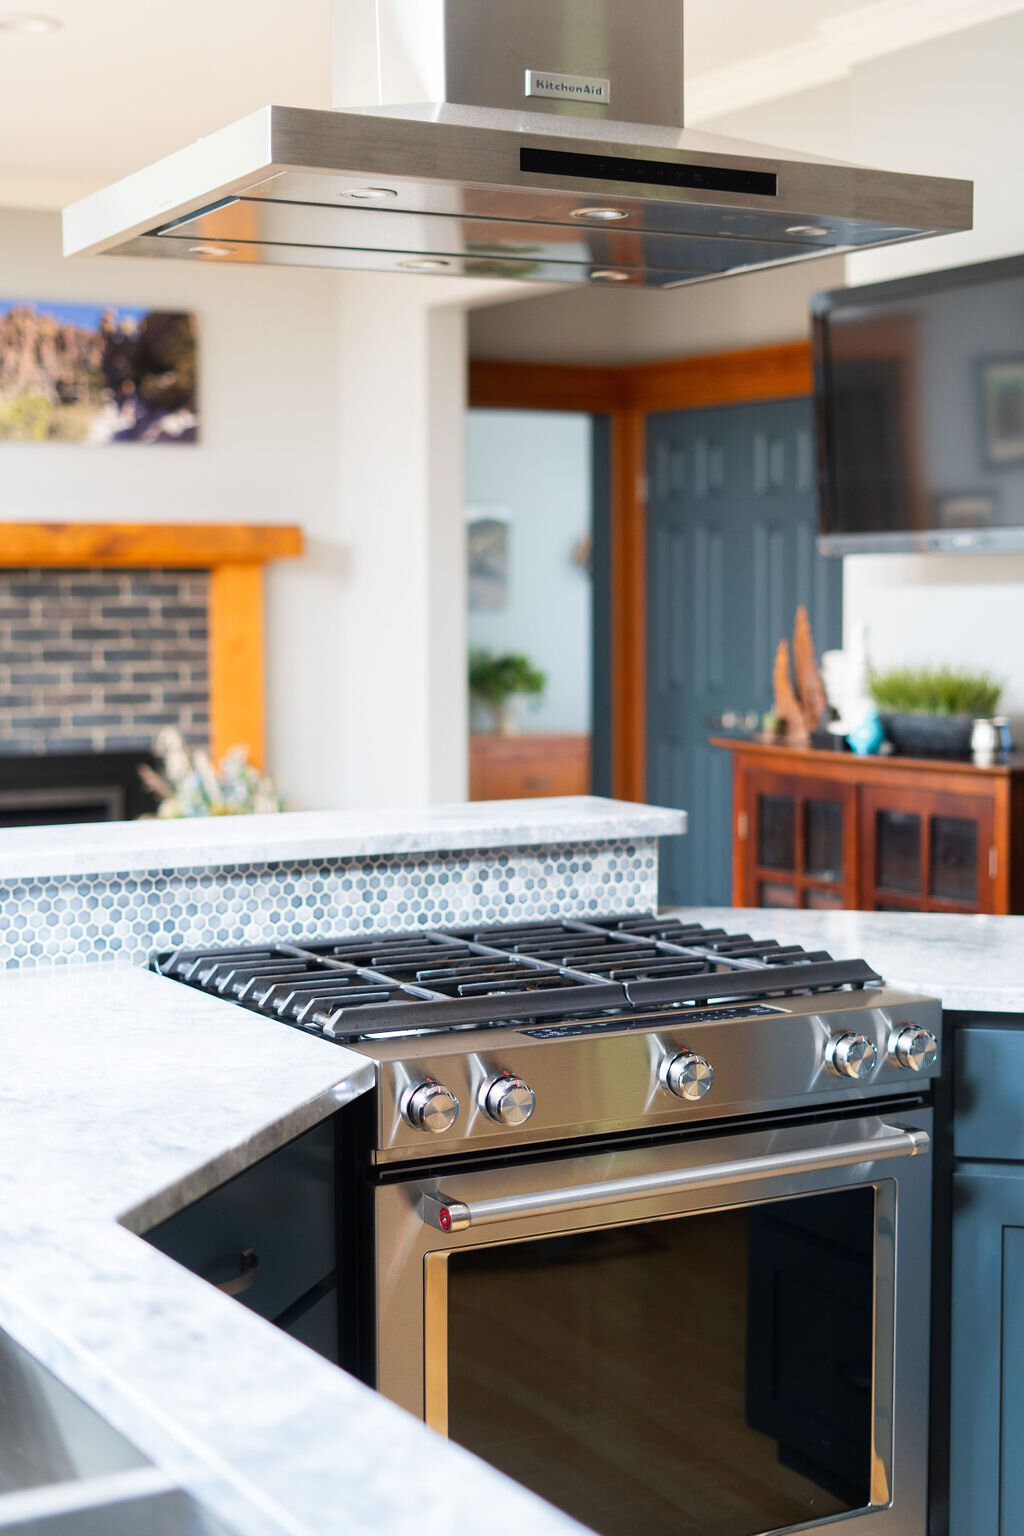
As I stated earlier, there was really nothing wrong with how the space functioned, (well except for the fireplace) and the fact that there was no vent hood over the range in the island. The greater challenge was going to be how to incorporate today's style into a space where we were keeping some of yesterday's finishes


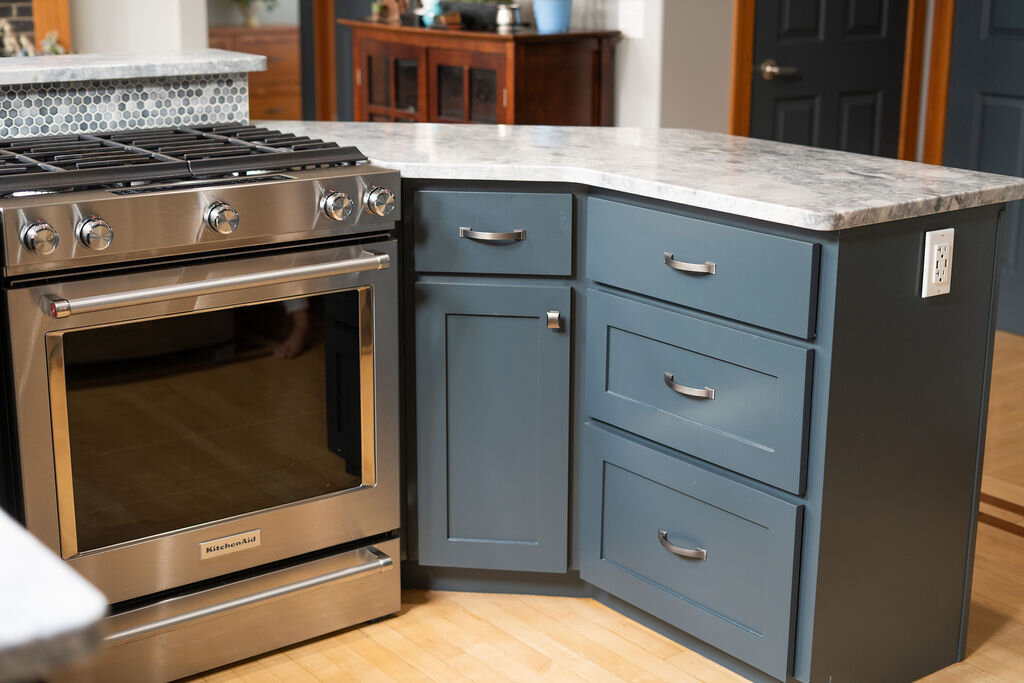

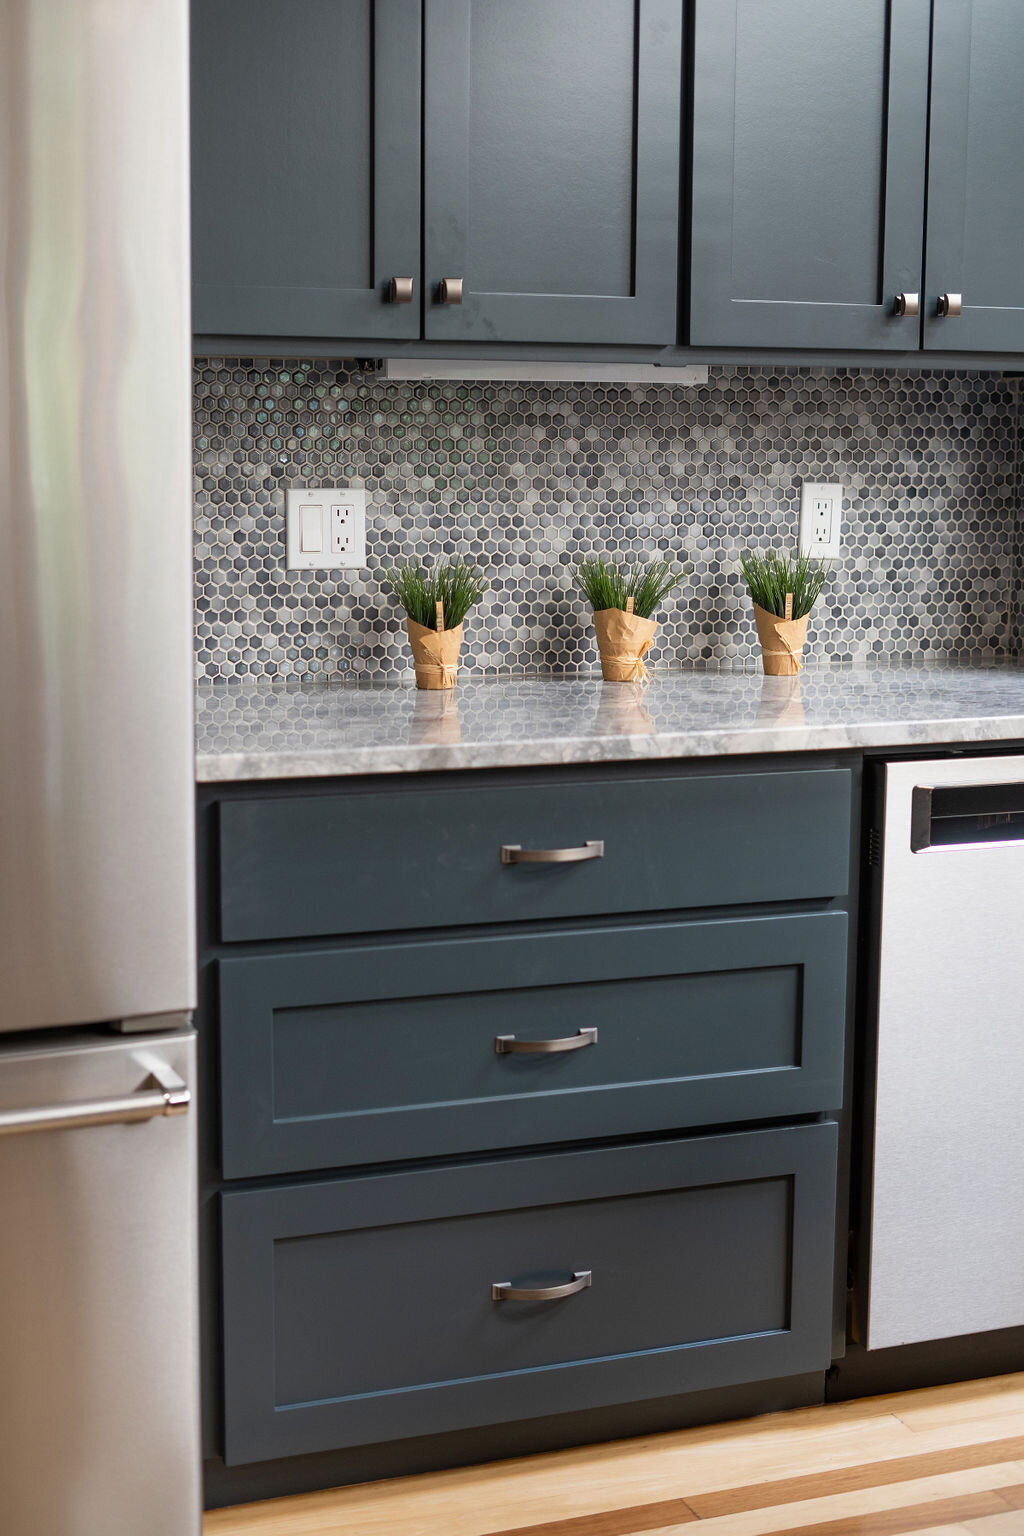
What to do about the cabinets. Instead of replacing the whole kitchen, we settled on adding cabinets to the existing ones and chose an updated shaker style profile. This would achieve the need for more storage and update the look. We would have new door and drawer fronts made and everything painted a deep blue-gray, and all without changing the existing footprint. Why you may ask? The existing cabinet boxes were wood (not something you find too often these days). Plus, if we were to change the footprint, we would now have to replace the miles of hardwood flooring that ran throughout the main floor. Because the existing island was angled there was no shape that would fit the space, function as well as the existing, and cover the hardwood so we wouldn't see the color change that happens when cabinetry sits on a wood floor for 20+ years. Not to mention the extra budget that would have to be spent to reroute plumbing and gas lines. Remember that "snowball effect" I referred too.

Stephanie Moore Photography
Counters- laminate or stone? My clients had had stone in a previous home, but this time around it wasn't a must have. However, we discovered through the budgeting process, that because the kitchen island had so many angles, the difference in price between the laminate and stone was minimal. Pair that with the fact that we found a stone that she loved and BAM! decision made!

Stephanie Moore Photography
Adding a vent hood. For some reason there was never a vent hood installed and the ceiling above the range was severely stained. Although the ceiling would be repainted with the rest of the home we didn't want the staining to come back, so we decided that now was the time to add one in.

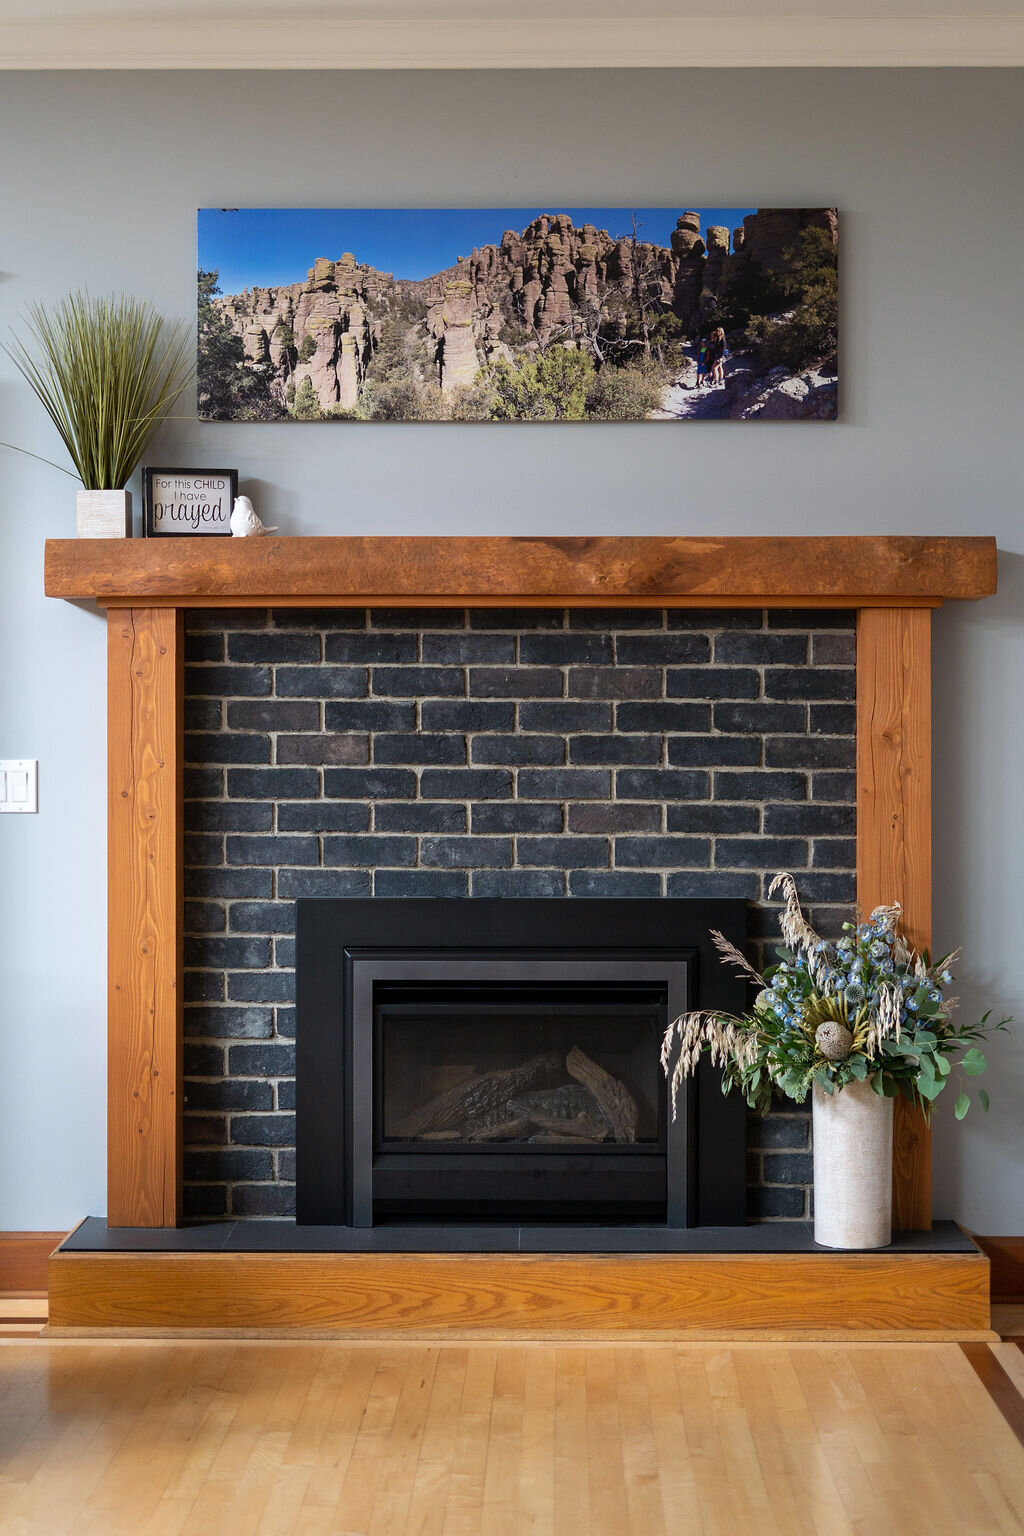
Identity Reassignment The old fireplace and surround never made sense to me. The millwork felt traditional but was painted a bright cherry red; while the light blue tiles felt more eclectic.
One thing I new for sure, we had to keep the hearth because this was my clients young sons favorite place to sit. We wanted to build on a modern mountain home aesthetic so I chose to add a fir mantle and side posts to work with the existing wood trims. I added a charcoal gray brick veneer to face the fireplace; the color would reinforce the new aesthetic yet the brick would keep if feeling a bit traditional to relate to the existing inlaid hardwood floors.
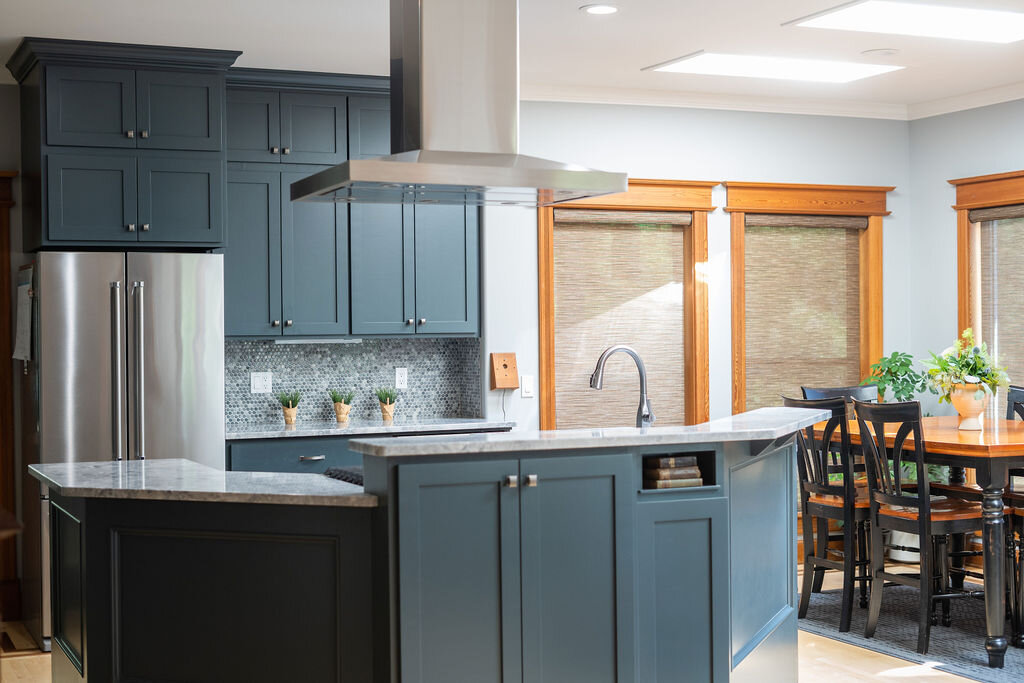
Trim - to paint or not to paint and what about those skylights? These days, one of the first things homeowners do when renovating, is paint their outdated wood trims a version of white (often times at my suggestion) to achieve an updated look. However, in this case, remembering that the homeowners were not fans of "white" I decided against it. In a typical modern mountain aesthetic, the doors and trims are generally wood. This home had wood trims, but the doors were hollow core and every one of them had been painted a bright light blue (I guess to match the old fireplace tile?). There was a dark wood inlay in the existing hardwood floors and we were going to be redesigning the fireplace. So, it only made sense to leave the wood trims alone, paint the interior doors the same color as the kitchen cabinets and add more wood in the redesign of the fireplace surround and continue the wood into the mudroom. Now, when it came to the skylights I had a different thought. The existing ones were framed in cedar and felt heavy and distracting to the eye (remember those before pictures?). I opted to have them painted to match the ceiling. Design Tip - when you want design element to disappear, you paint it the same color as it’s surroundings. In this case the white paint minimizes the appearance yet reflects more light. It’s a win win!
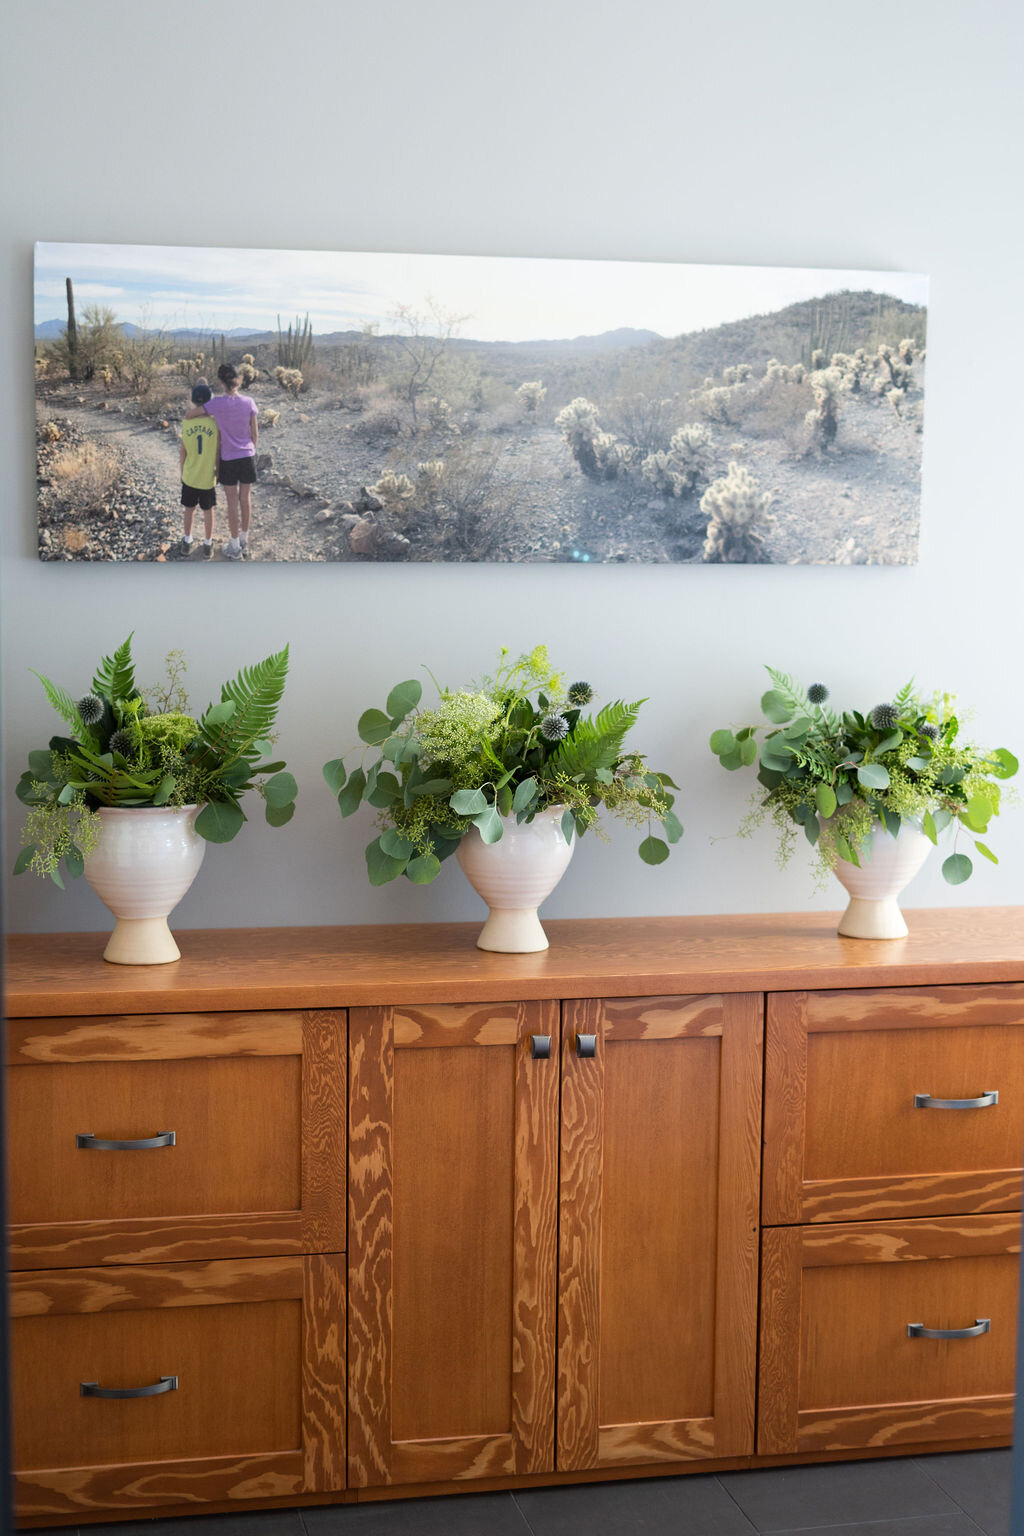

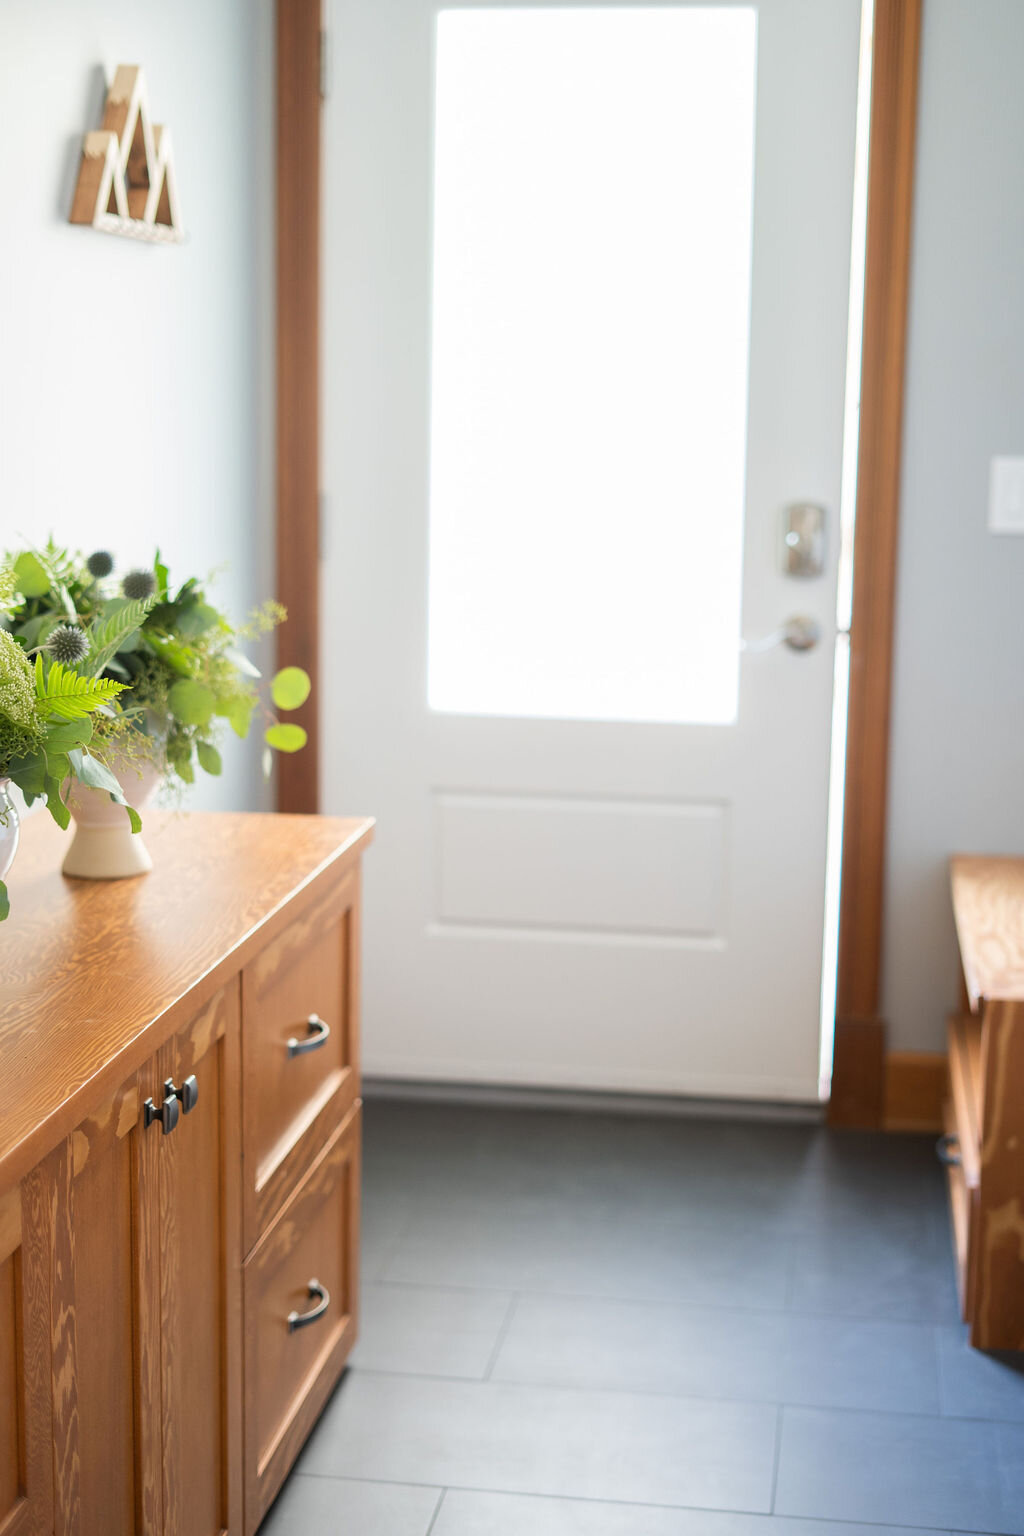
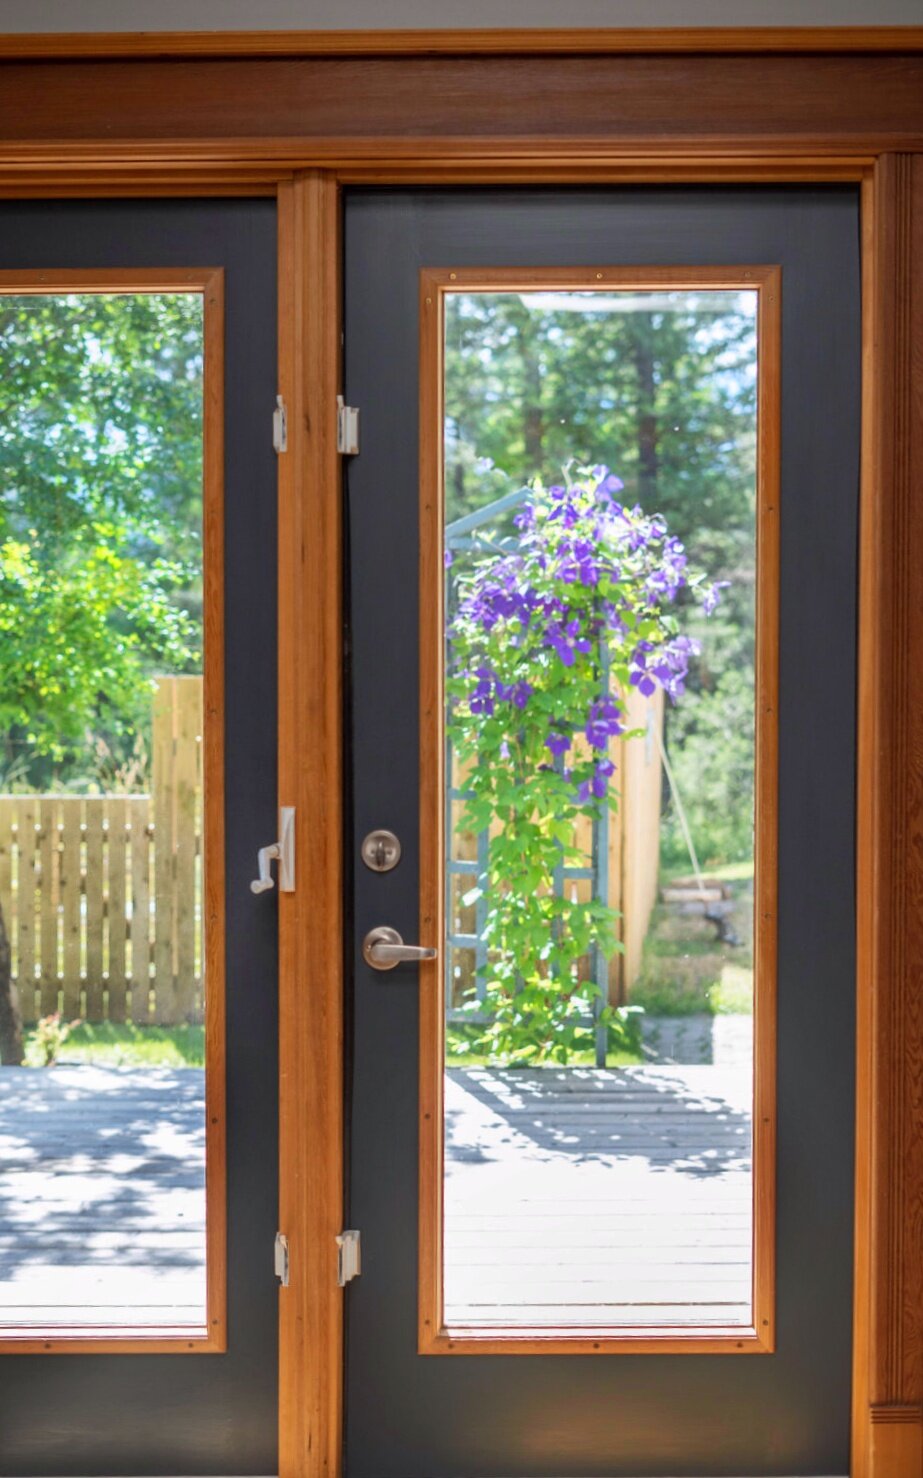
What to do with the mudroom. Although painted surfaces always look super pretty in a mudroom, they are not always practical. This family is in love with the great outdoors and with that love comes all sorts of clothing, equipment and footwear. Painted surfaces show scratches and chips easily, so for this reason we choose wood cabinetry for its durability. Adding wood to this room in a species and stain color similar to the original wood trims in the kitchen /family room area was also a way of connecting the two spaces. We replaced the old exterior door with a new three-quarter glass one, to let in more light. Added heat mats under the tile floors so water from wet footwear throughout the seasons would quickly evaporate; and the family made a decision to only have clothing and footwear items relevant to the current season, in the mudroom itself - the rest would be relocated to the adjoining garage. Their entry now feels brighter and less cluttered; plus with the extras wall space, the Mrs. was able to install a fabulous photo of their kids taken during one of their outdoor adventures.

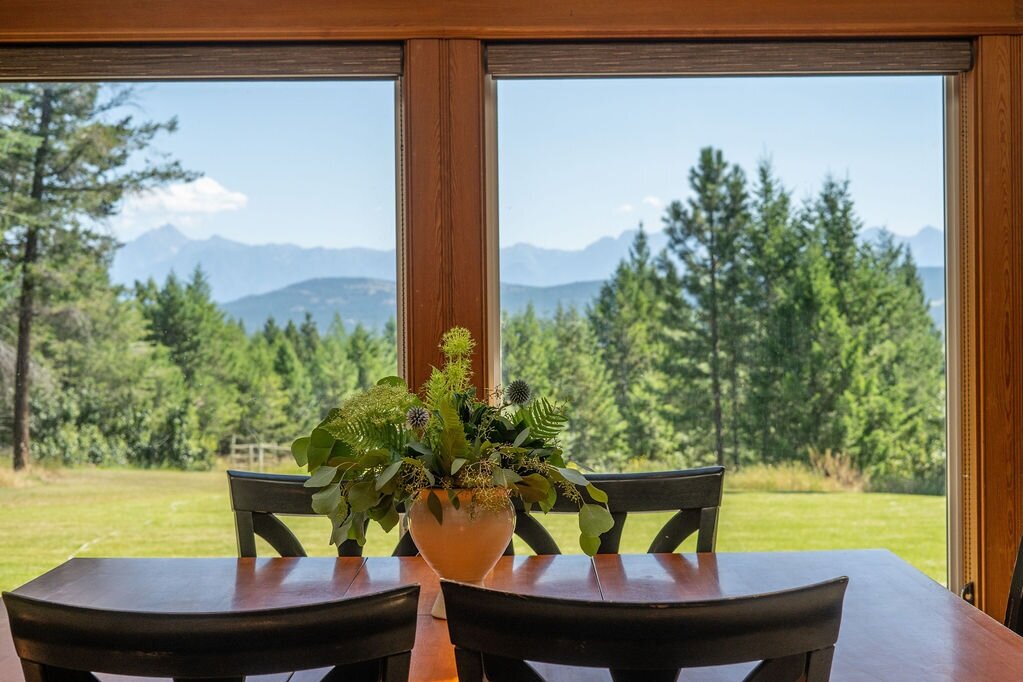
Window treatments- decisions, decisions For this family, privacy was not an issue. As you can see, they live atop a hillside with a fabulous mountain view and no neighbors to peer in. The original homeowners had installed Roman Shades and although when closed, they kept the heat and cold out, they also completely blocked the view and felt a bit to traditional in this room. I decided to recommend a light filtering solar screen that would block the heat but not the view. I chose a screen that had a lot of texture in a color that related to the wood trims. You can read more about our window covering service here
THE CHALLENGES
A renovation wouldn't be a renovation without a challenge or two.
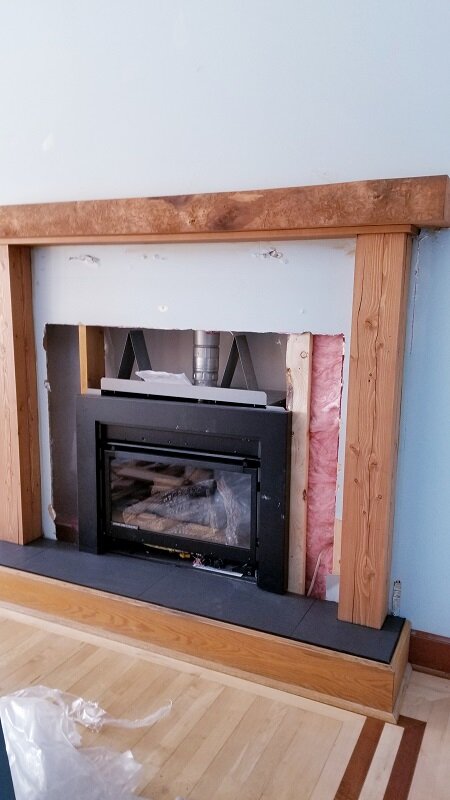
The existing fireplace hadn’t been framed in or insulated properly by the previous owner. So, upon replacing it there was some extra work involved to bring it up to today's code. Fortunately it was nothing that our awesome contractor "Dan Pelletier" and "Cranbrook Fireplace" couldn't handle.
The other challenge came when we discovered that the original gas range was 2 inches smaller than today's standard. Thankfully, we discovered this prior completing the construction of the new cabinet doors and drawers in the kitchen island. It was a bit of a head scratcher because of the angles in the island, but our cabinet builder extraordinaire, Russ Kershaw, was able to re-gig one of the cabinets to make it work.
Well, that's a wrap!
Thank you to all of the awesome trades and businesses for the service you provide.
Russ Kershaw Contracting, Dan Pelletier Contracting, Roy Hofmeister Painting, Big Horn Electric, CJ Mechanical, Cranbrook Fireplace, Kootenay Granite, Flooring Superstore, The Bedroom Furniture Galleries and Stephanie Moore photo for capturing the process. It takes a great team to make these projects happen!
I hope you have enjoyed following the journey of this project. I truly appreciate all of your comments along the way. I hope it gives you all some ideas on how to refresh your own space. Repetition is key to any design; it's how you create flow from one space to the next. In this case choosing to work with and repeat the existing wood elements, greatly contributed to the making the dated elements of this space feel fresh and new. Adding a color, you've always loved can never hurt either.
What was your favorite part of this transformation? I'd love to hear in the comments below!
Until next time,
Adrienne